If you ask me, angel food cake is one of the best desserts ever created.
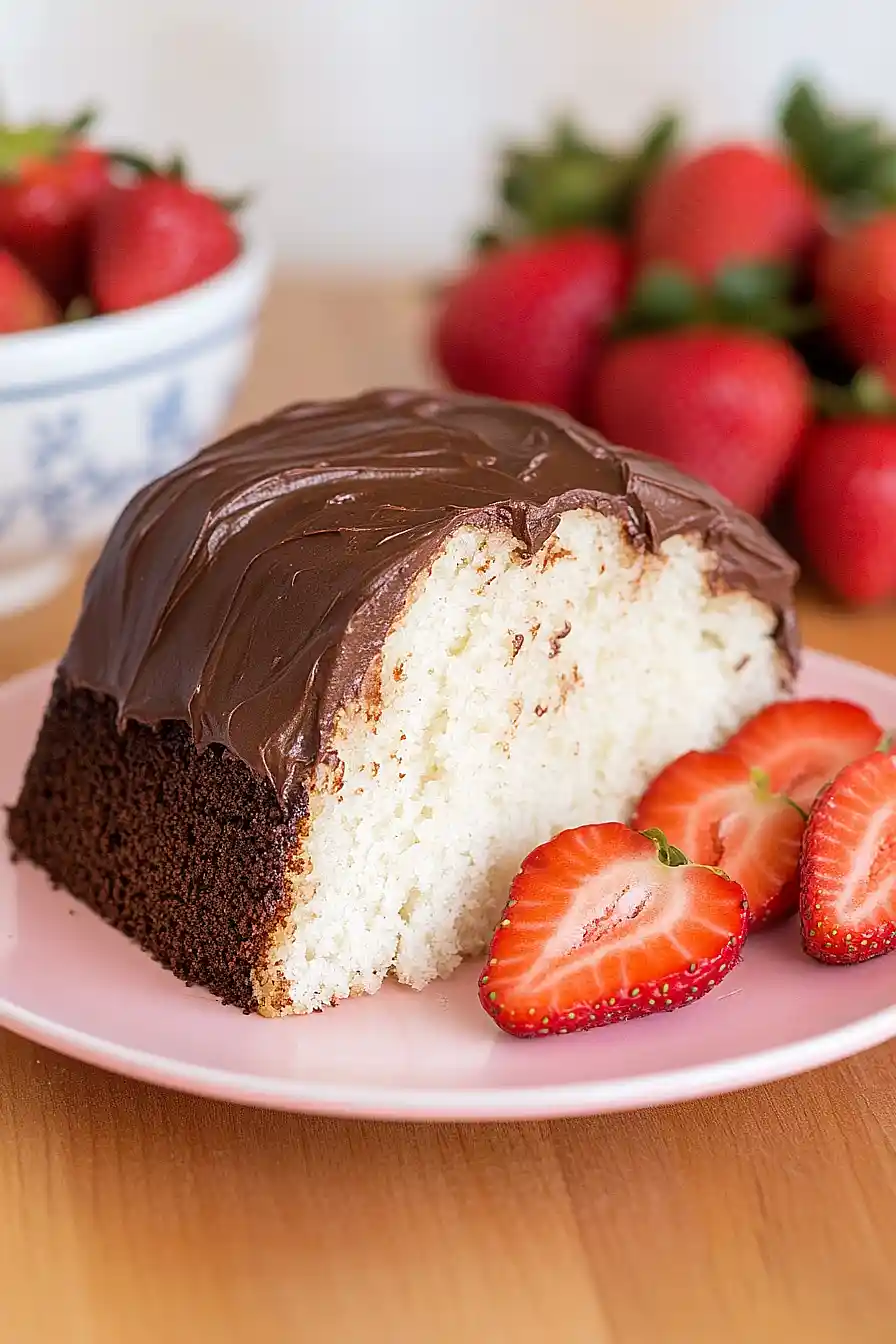
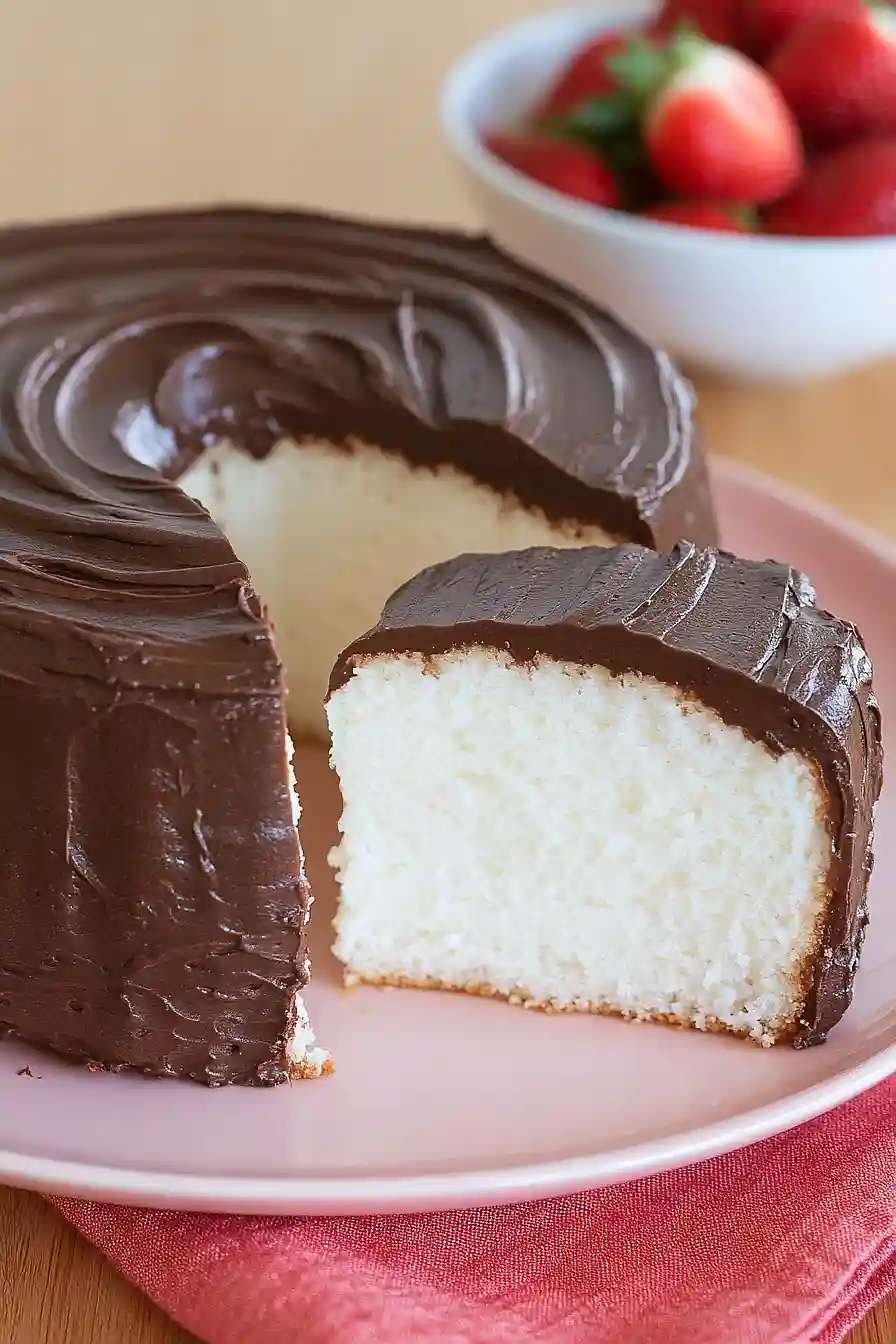
This light-as-a-cloud cake with rich chocolate frosting brings together two perfect partners – a vanilla-scented white cake that’s impossibly fluffy, and a smooth chocolate coating that melts in your mouth.
The cake itself is made with just egg whites and a handful of simple ingredients, whipped until they reach pillowy heights. When paired with the chocolate frosting, it creates a dessert that feels both familiar and special.
It’s a reliable crowd-pleaser that works for any occasion, from casual family dinners to holiday celebrations.
Why You’ll Love This Angel Food Cake
- Light and airy texture – This classic angel food cake is incredibly fluffy and tender, with a cloud-like texture that melts in your mouth – perfect for those who prefer lighter desserts.
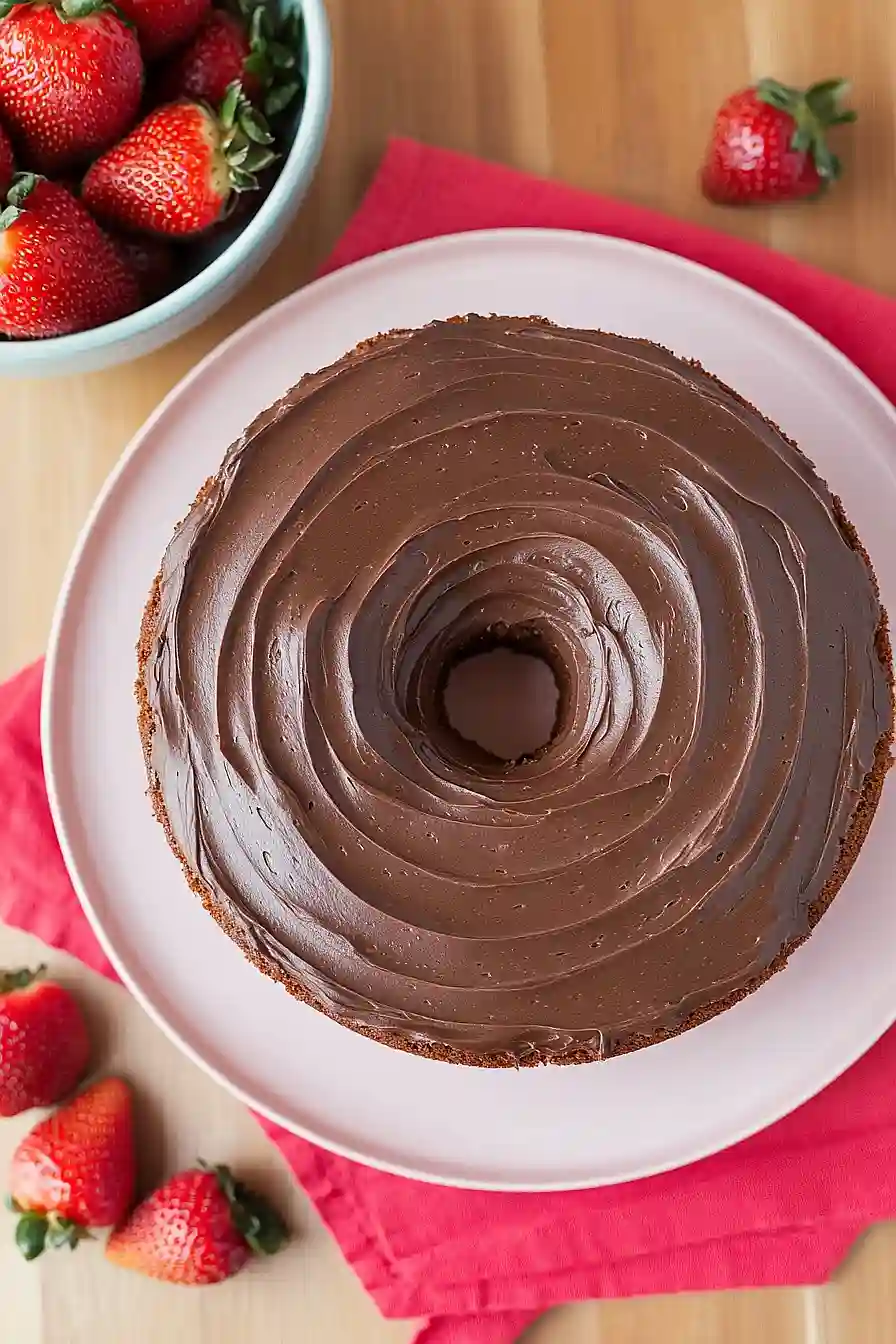
- Rich chocolate contrast – The creamy chocolate frosting pairs perfectly with the light cake, creating an irresistible combination that satisfies both vanilla and chocolate lovers.
- Low-fat cake base – Since the cake itself is made without butter or egg yolks, it’s naturally lower in fat than most other cakes, making it a lighter dessert option.
- Basic pantry ingredients – You’ll likely have most of these ingredients already in your kitchen, and the recipe uses simple staples rather than specialty items.
- Make-ahead friendly – This cake can be made a day in advance and frosted just before serving, making it perfect for planning ahead for special occasions.
What Kind of Egg Whites Should I Use?
Fresh egg whites are the key to creating a perfectly fluffy angel food cake. While you can use carton egg whites in many recipes, for angel food cake you’ll want to separate your eggs by hand – the fresher the eggs, the better your cake will turn out. When separating the eggs, make sure not even a speck of yolk gets into your whites, as any fat will prevent them from whipping up properly. If you’re planning ahead, separate your eggs while they’re cold from the fridge, but let the whites come to room temperature before beating them – this will help you get the most volume when whipping. A good tip is to separate each egg white into a small bowl first before adding it to your main mixing bowl, so if you get any yolk in one, you won’t ruin the whole batch.
Options for Substitutions
While angel food cake needs some specific ingredients to work properly, there are a few substitutions you can try:
- Cake flour: If you don’t have cake flour, you can make your own by replacing 2 tablespoons of all-purpose flour with 2 tablespoons of cornstarch for each cup. Just remember to sift them together several times.
- Cream of tartar: This is pretty important for egg white stability, but in a pinch, you can replace it with 2 teaspoons of lemon juice or white vinegar. Keep in mind your whites might not be as stable.
- Egg whites: Fresh egg whites are a must here – don’t try to substitute them. Carton egg whites won’t give you the same results for this recipe.
- Frosting ingredients: For the frosting, you’ve got more flexibility: margarine can replace butter (though the taste will differ), and any type of milk (including non-dairy options) works fine. You can also use Dutch-process cocoa instead of regular cocoa powder for a deeper chocolate flavor.
- Vanilla essence: Feel free to swap vanilla essence with vanilla extract, or try almond extract for a different flavor profile. Just use half the amount if using extract instead of essence.
Watch Out for These Mistakes While Baking
The success of an angel food cake heavily depends on your egg whites – make sure they’re at room temperature and there’s absolutely no trace of egg yolk, as even a tiny bit of fat will prevent proper whipping and lead to a dense, flat cake. Getting the folding technique right is crucial – use a gentle hand and a large rubber spatula to fold in the flour mixture in three batches, as aggressive mixing will deflate those precious air bubbles you’ve worked so hard to create. When it comes to the pan, resist the urge to grease it – a clean, ungreased tube pan allows the cake to climb up the sides as it bakes, giving you that characteristic tall, light texture. After baking, immediately invert the pan and let the cake cool completely upside down (most tube pans have little feet for this purpose), as this prevents the cake from collapsing under its own weight. For the chocolate frosting, patience is key – make sure your butter is at the right temperature (cool room temperature, not warm) and beat it until it’s genuinely fluffy before adding other ingredients, or you’ll end up with a grainy texture.
What to Serve With Angel Food Cake?
Fresh berries are the perfect match for this light and airy angel food cake – I love using a mix of strawberries, raspberries, and blueberries for both color and flavor. A scoop of vanilla ice cream on the side adds a nice creamy contrast to the cake’s texture, and it works really well with the chocolate frosting too. For an extra special touch, you could whip up some fresh cream and serve it alongside, or try a fruit sauce like raspberry coulis drizzled over the top. If you’re serving this at a party, coffee or tea makes for a nice beverage pairing that won’t overwhelm the cake’s delicate sweetness.
Storage Instructions
Counter Storage: Your frosted angel food cake can hang out on the counter for up to 2 days when kept in a cake container or under a cake dome. If you live somewhere warm, it’s better to pop it in the fridge to keep that chocolate frosting from getting too soft.
Refrigerate: This cake stays fresh in the fridge for up to 5 days when stored in an airtight container. The cold air might make the cake feel a bit firm, but don’t worry – that’s totally normal! Just remember to keep it away from strong-smelling foods since angel food cake can absorb other flavors.
Freeze: Want to save some for later? You can freeze unfrosted angel food cake for up to 4 months! Wrap it well in plastic wrap, then aluminum foil. I don’t recommend freezing it with the frosting though – the texture just isn’t the same when thawed.
Serve: When you’re ready to enjoy your refrigerated cake, let it sit at room temperature for about 30 minutes before serving. This helps the frosting soften up and the cake reach the perfect texture. For frozen cake, thaw overnight in the fridge before bringing to room temperature.
| Preparation Time | 30-45 minutes |
| Cooking Time | 50-60 minutes |
| Total Time | 80-105 minutes |
| Level of Difficulty | Medium |
Estimated Nutrition
Estimated nutrition for the whole recipe (without optional ingredients):
- Calories: 3500-4000
- Protein: 30-40 g
- Fat: 220-240 g
- Carbohydrates: 450-500 g
Ingredients
- Cake:
- 1 cup plain cake flour (about 3 ounces, sifted)
- 1 1/2 cups granulated sugar (sifted and separated)
- 12 large egg whites
- 1 teaspoon cream of tartar
- 1/2 teaspoon salt
- 2 teaspoons vanilla essence
- 1 1/2 teaspoons fresh lemon juice
- Chocolate frosting:
- 1 cup butter (2 sticks, softened but not warm)
- 3 cups powdered sugar (add more if needed)
- 1/2 cup plus 2 tablespoons unsweetened cocoa powder
- 1/2 teaspoon salt
- 1 tablespoon vanilla essence
- 1/4 cup milk or cream (add more if required)
Step 1: Prepare the Oven and Cake Pan
Begin by placing the oven rack in the lower-middle position and preheating the oven to 325º F.
Use a clean cloth to wipe a large tube pan (16-cup capacity) with a removable bottom, ensuring it is clean.
Avoid greasing the pan!
Step 2: Prepare Dry Ingredients and Egg Whites
In a small bowl, combine flour and 3/4 cup of sugar, whisking them together well.
Set aside.
In the bowl of a standing electric mixer, beat egg whites at low speed until they begin to froth.
Add cream of tartar and salt, then increase the speed to medium.
Continue beating until the egg whites form soft, billowy, slightly translucent mounds.
With the mixer still on medium speed, add the remaining 3/4 cup of sugar one tablespoon at a time.
Beat until the whites form soft, glossy peaks that bend over at the points.
Take care not to increase the mixer speed or over-beat; the batter should still be able to flow when the bowl is tilted.
Add vanilla and lemon juice and beat until just blended.
Step 3: Incorporate Dry Ingredients into Egg White Mixture
Gently sift a fine layer of the flour-sugar mixture over the beaten egg whites, no more than 3 tablespoons at a time, and fold in gently with a large silicone spatula.
Repeat this process until the entire flour-sugar mixture is incorporated into the egg whites without deflating them.
Step 4: Bake the Cake
Pour the batter into the ungreased tube pan, smooth the top with a spatula, and tap the pan on the counter twice to release any large air bubbles trapped in the batter.
Bake the cake for 50 to 60 minutes, until it is golden brown and the top springs back when pressed firmly.
Once baked, allow the cake to cool upside down for 2 to 3 hours.
If the pan doesn’t have prongs around the rim, invert it over a wine bottle to cool.
Step 5: Unmold and Prepare the Cake for Frosting
To unmold, gently slide a thin knife or spatula around the inside edge of the pan, pressing against the pan to avoid tearing the cake.
Carefully slide the cake out of the pan, then run the knife under the cake on the removable bottom to detach.
Position the cake bottom-side up on a platter.
Step 6: Prepare and Apply the Frosting
Using a standing electric mixer with the paddle attachment, cream the butter until it is light and fluffy.
Turn off the mixer, then add powdered sugar, cocoa powder, salt, vanilla, and milk.
Stir on low speed until the ingredients come together, then increase to medium speed and beat for about 3 minutes.
Adjust the frosting’s consistency with more powdered sugar or milk as needed.
Finally, frost the cake evenly, slice, and serve your masterpiece!