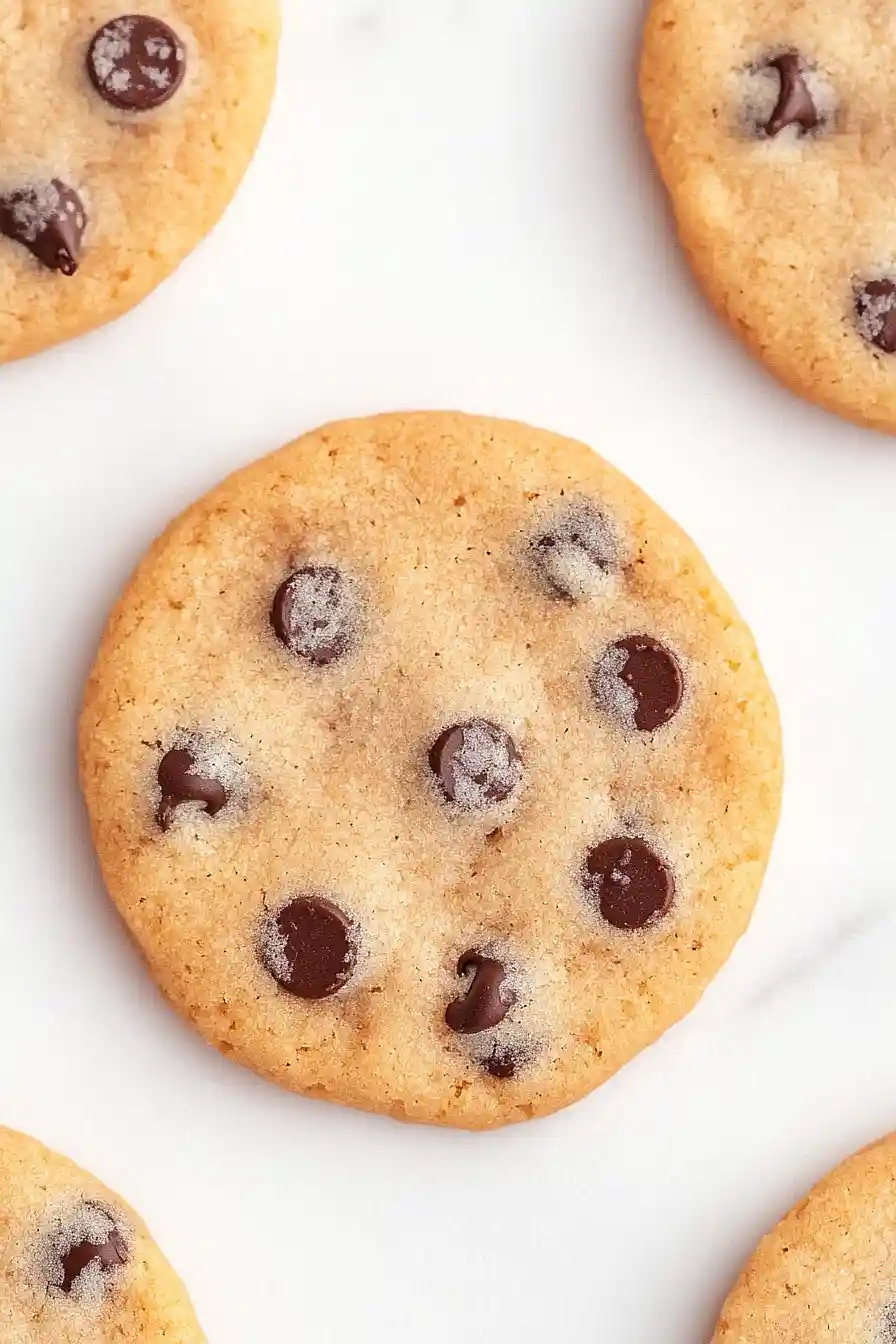
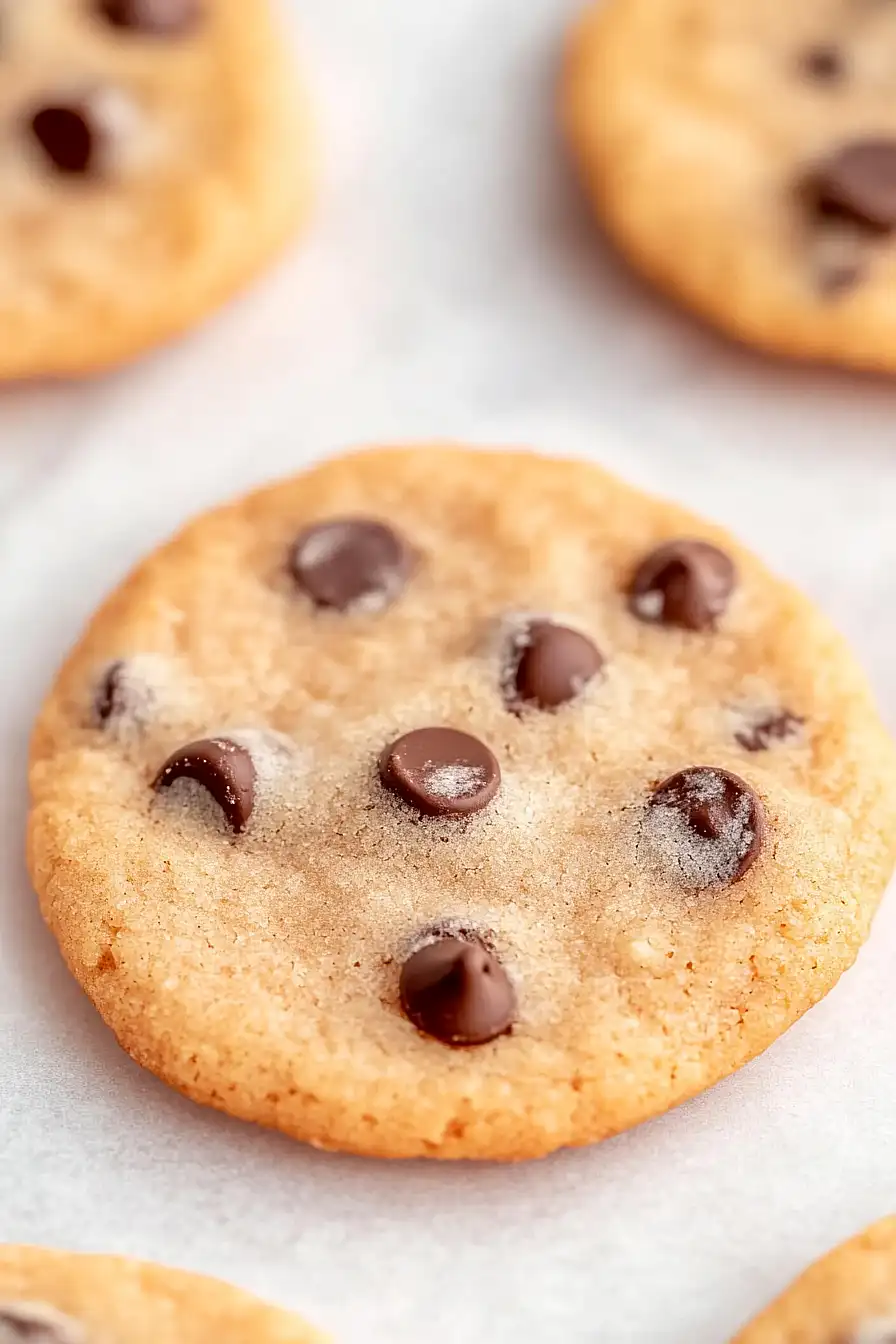
Growing up, I thought Mrs. Fields cookies were some kind of magic you could only get at the mall. Mom and I would always grab one while shopping – those warm, perfectly chewy cookies that somehow tasted better than anything we made at home.
Turns out, the secret wasn’t magic at all – it was malted milk powder. That simple ingredient gives cookies that distinct Mrs. Fields taste we all remember from the mall. Once I learned this trick, I started experimenting until I got a recipe that brings back those shopping-break memories, minus the trip to the food court.
Why You’ll Love These Malted Milk Cookies
- Classic cookie base – These cookies start with a tried-and-true butter and sugar base, just like the famous Mrs. Fields cookies you know and love from the mall.
- Special malted twist – The malted milk powder adds that nostalgic, creamy flavor that takes these cookies from good to absolutely memorable – it’s like having a malted milkshake in cookie form!
- Simple ingredients – Most of these ingredients are probably already in your pantry, and the malted milk powder is easy to find in any grocery store.
- Quick preparation – You can have these cookies mixed, baked, and ready to enjoy in less than 45 minutes, making them perfect for last-minute cravings or unexpected guests.
What Kind of Malted Milk Powder Should I Use?
You’ll find malted milk powder in most grocery stores, usually near the hot chocolate mixes or in the baking aisle. The two most common brands are Carnation and Horlicks, and either one works great in these cookies. Plain malted milk powder (not chocolate flavored) is what you’re looking for – it adds that classic malty, slightly sweet taste that makes these cookies special. If you’re having trouble finding it in your local store, you can also use Ovaltine Original (not the chocolate version), though it might give a slightly different flavor since it contains some extra ingredients. Just make sure whatever brand you choose isn’t chocolate flavored, as that would change the intended taste of these classic cookies.
Options for Substitutions
Looking to make these cookies but missing a few things? Here are some helpful swaps you can try:
- Malted milk powder: This is pretty key for the signature malted flavor, but if you can’t find it, you can use Ovaltine (use 1 cup since it’s less concentrated) or regular milk powder (though you’ll miss that malty taste).
- Condensed milk: If you’re out of condensed milk, mix 2 tablespoons of heavy cream with 1 teaspoon of honey or corn syrup for similar richness and sweetness.
- Milk chocolate chips: Feel free to use semi-sweet chocolate chips, chopped chocolate bars, or even white chocolate chips. Dark chocolate works too, but it will give a less traditional flavor.
- Light brown sugar: Dark brown sugar works just fine here, or you can use all white sugar with a tablespoon of molasses mixed in.
- Salted butter: Unsalted butter works too – just add an extra 1/4 teaspoon of salt to the recipe. If you’re out of butter, margarine can work but the texture won’t be quite the same.
Watch Out for These Mistakes While Baking
The biggest challenge when making malted milk cookies is overmixing the dough – once you add the flour mixture, mix just until combined, as overmixing will lead to tough, dense cookies instead of tender ones. Getting the butter temperature right is crucial – too soft or melted butter will cause your cookies to spread too much, while cold butter won’t cream properly, so aim for butter that’s soft enough to leave an indent when pressed but still cool to the touch. Another common mistake is skipping the chilling step – letting your dough rest in the fridge for at least 30 minutes allows the flour to hydrate properly and prevents excessive spreading during baking. For perfectly baked cookies, take them out when the edges are just starting to turn golden but the centers still look slightly underbaked, as they’ll continue cooking on the hot baking sheet while cooling.
What to Serve With Malted Milk Cookies?
These cookies are perfect with a cold glass of milk – the malted flavor and milk chocolate chips practically beg for it! If you want to lean into the old-fashioned soda fountain vibe, serve them alongside a malted milkshake made with vanilla ice cream. For an after-school snack or casual dessert spread, I like to pair them with hot chocolate in the winter or chocolate milk in warmer months. You could also sandwich some vanilla ice cream between two cookies for a nostalgic ice cream sandwich that would make any bake sale proud.
Storage Instructions
Keep Fresh: These malted milk cookies stay wonderfully fresh in an airtight container at room temperature for up to 5 days. Place a piece of bread in the container with them – it’s an old trick that helps keep them soft and chewy!
Freeze Baked: Already baked cookies? No problem! Stack them with parchment paper between layers in a freezer container and they’ll keep for up to 3 months. They’re perfect for when unexpected guests drop by or when you need a quick sweet treat.
Freeze Dough: The cookie dough freezes really well too! Roll it into balls, place them on a baking sheet to freeze until solid, then transfer to a freezer bag. You can bake them straight from frozen – just add 1-2 minutes to the baking time. The dough stays good in the freezer for up to 3 months.
| Preparation Time | 15-20 minutes |
| Cooking Time | 24-25 minutes |
| Total Time | 39-45 minutes |
| Level of Difficulty | Easy |
Estimated Nutrition
Estimated nutrition for the whole recipe (without optional ingredients):
- Calories: 3500-4000
- Protein: 40-50 g
- Fat: 200-220 g
- Carbohydrates: 450-480 g
Ingredients
- 2 1/2 cups regular all-purpose flour
- 3/4 cup plain malted milk powder
- 1/2 teaspoon baking soda
- 1/4 teaspoon salt
- 1 cup white sugar
- 1/2 cup packed light brown sugar
- 1 cup softened salted butter
- 2 large eggs
- 2 teaspoons vanilla extract
- 2 tablespoons condensed milk with sugar
- About 12 ounces milk chocolate chips
Step 1: Preheat the Oven and Prepare Dry Ingredients
Start by preheating your oven to 300°F (150°C) to ensure it’s ready for baking.
In a medium bowl, combine the all-purpose flour, malted milk powder, baking soda, and salt.
Use a wire whisk to mix the dry ingredients thoroughly, and then set the bowl aside.
Step 2: Cream the Sugars and Butter
In a large bowl, blend the granulated sugar and light brown sugar using an electric mixer set to a medium speed.
Next, add the softened salted butter to the sugar mixture, mixing well and occasionally scraping down the sides of the bowl to ensure even blending.
Step 3: Incorporate Wet Ingredients
Add the eggs, pure vanilla extract, and sweetened condensed milk to the butter and sugar mixture.
Continue to beat at medium speed until the mixture becomes light and fluffy, providing a good base for the cookie dough.
Step 4: Combine Dry and Wet Ingredients
Gradually mix the flour mixture into the bowl of wet ingredients.
Blend at a low speed until just combined.
Be careful not to overmix to maintain the best texture.
Fold in the milk chocolate chips gently to ensure they are evenly distributed throughout the dough.
Step 5: Shape the Cookies
Using a tablespoon, drop rounded scoops of the cookie dough onto ungreased cookie sheets.
Make sure to space them about 2 inches apart to allow room for spreading as they bake.
Step 6: Bake and Cool the Cookies
Place the cookie sheets in the preheated oven and bake for 24-25 minutes or until the cookies are slightly browned along the edges.
Remove the cookies from the oven and transfer them immediately to a cool surface using a spatula to prevent over-baking on the hot sheets.
Let them cool for a few moments before enjoying your delicious homemade cookies!


